
If you come from a large family, then chances are you are always spending money on birthday cards and gifts for your various family members, which can be an expensive and time-consuming task.
Sometimes you may even find yourself purchasing gift bags and party supplies that are then thrown away without a care, wasting precious time and money that you could have spent doing something more substantial.
So how can you make sure that you are not spending too much money on gift bags? By making your own from scratch!
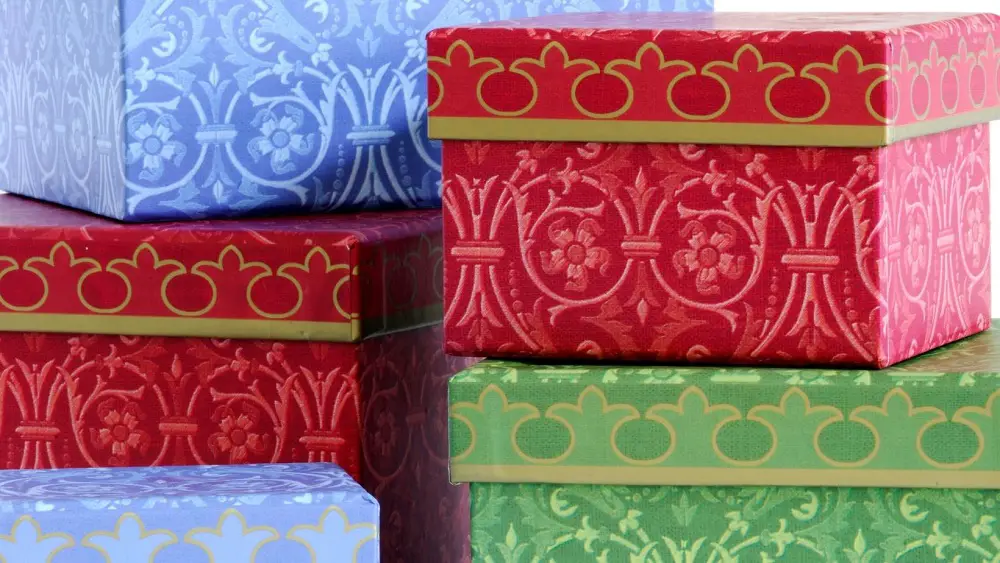
Not only are homemade gift bags easy to make, but you can also craft them yourself using leftover wrapping paper from Christmas or Easter, creating a stylish and vibrant bag that will accompany the party mood.
So if you want to know how you can save money by making your own gift bags using wrapping paper, then you have come to the right place.
In the following article, we are going to teach you how to make a gift bag from scratch, using wrapping paper and other materials that you can find in your home.
So if you don’t want to waste your money on any more unnecessary party supplies, we have everything you need to make your own cost-effective gift bags in minutes.
Now let’s get started…
What You Will Need?
Before we can show you how to make your own gift bag from wrapping paper, you must first understand the various tools and supplies you will need to get the job done.
So to aid you in this process, we have outlined what you will need in the following list:
- Wrapping paper
- Craft scissors
- Glue Stick
- Double-sided tape (optional)
- Cardboard
- Hole punch
- Gift ribbon
When it comes to using these supplies to make your gift bag, always remember to follow the instructions provided, as this will often yield the best results and reduce the risk of the wrapping paper becoming damaged.
How To Make A Gift Bag From Wrapping Paper?
Now that we have covered the supplies you will need to make your gift bag, let’s take a look at how you can use wrapping paper to make your own gift bag from the comfort of your own home.
Just follow the instructions that we have outlined in the sections below and you should be able to complete your gift bag in less than 20 minutes.
Step One: Fold The Wrapping Paper
Take your wrapping paper and cut out a rectangular sheet using your craft scissors.
For the best results, the rectangle should be double the size of the gift that you want to put inside the bag, although adding a few more inches will also make sure that it will definitely fit.
When you have done this, create a 2-inch fold along one long side of the wrapper paper, then take the left side and fold it until it reaches the centre of the paper.
After this has been completed, take the right side of the wrapping paper and fold it towards the centre, making sure that it overlaps the left side by half an inch.
Then unfold the right side and run your glue stick across the edge of the left flap.
When this has been done, take the right side of the wrapping paper and fold it back over, before smoothing it down to make sure that it is secure.
Step Two: Create The Bottom Of The Bag
Once the right side of the wrapping paper has been folded and secure, take the bottom edge and fold it for a few inches until it is below the centre.
When this has been completed, unfold the bottom edge and open the flap, then press both sides until they are flat, this should create a triangular formation on each side.
Following this, you will need to take the bottom flap that you have created and fold it towards the centreline, where it should overlap the middle by 1-inch.
When you have done this, you will then need to secure the flap by unfolding it and applying glue to the edges.
Make sure to press it down for extra security and then repeat the same process with the top flap, this should help you to create the bottom or base of the gift bag.
Step Three: Complete The Gift Bag
To complete making your gift bag, you will need to take the left side of the bag and fold it over for a few inches.
When doing this, the bottom angled edge of the bag should line up with the line at the centre of the bag’s base.
Take a heavy or hard object and use it to make a crease where you have folded, then repeat the same process on the right side of the gift bag.
When this has been done, unfold the bag and shape it until it is ready for use.
Step Four: Reinforce The Structure
Before you can begin using your bag for storing gifts, you must first make sure that it is sturdy enough to carry a range of different weights.
This can be done by adding a cardboard reinforcement to the bottom of the bag, which will help to make the overall structure stronger and more efficient.
To do this, measure the bottom of your gift bag and then use the measurements to cut out a thin piece of cardboard.
When you have done this, add the cardboard to the bottom of your gift bag and then secure it in place with glue or double-sided tape.
You can then take your hole punch to make four holes at the top of the bag, which you can then use to make the handles by threading through some ribbon or rope.
For the best results, we recommend tying the ribbon in a bow, as this will secure the structure of the bag while also adding an attractive flair.
Now you know how to make your own gift bag from wrapping paper. We hope that you found this article helpful and that you will refer to it again in the future.